Threading the Mirrix my way and everyone “ new and sometimes not so new”seems to want to do eccentric weaving.
The easiest, fastest, foolproof way to warp a mirrix loom.
1. Forget everything you know about using the silver accessory bars supplied by mirrix as warping accessories to warp around. They are too big to be practical with this method of warping. So you can save them for perhaps a very dim very future time.
(notice the size difference of mirrix silver bars, skewer and metal rod )
)
2. Normally this would be done before any weaving or warp is on the loom, but all my looms already had weavings started. So just pretend a bit. Set the loom up so there is at least 6 inches of all thread above the wingnuts on the sides. You won’t be able to see this 6 inches because they are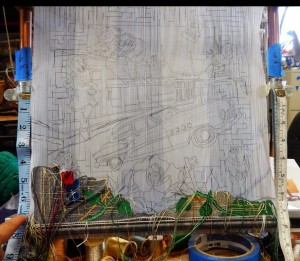 inside the copper bar tube.Measure the distance on the all thread to make sure the distance is equal on each side of the loom.
3. Remove heddle bar to be reattached at a later time.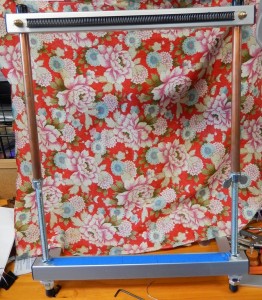
4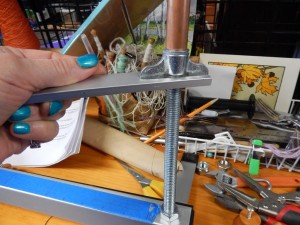 . Optional- Place blue tape either across the front of the beam or the inside of the beam marked off in .5
 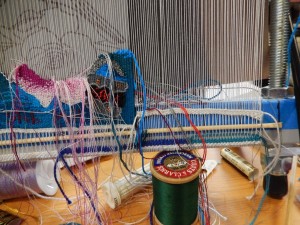 or 1 inch.This helps with the spacing of the warp threads as you wrap the warp and helps keep the turns perpendicular. Either placement of the tape is correct depending on if you are using a bottom spring or no bottom spring. note blue tape on center inside beam and on outside of beam under beginning of tapestry
5. Tie off a warp ball or spool of warp at one side of the loom at the bottom or top. The knot will basically hang out in the middle of the beam. Circle around the loom being careful to place each warp in the proper slot o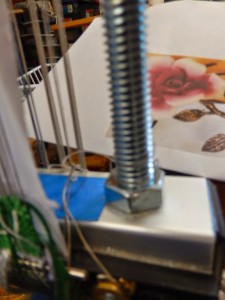 f the spring at the top and the bottom(Bottom spring is optional. Just be careful if your not using a bottom spring not to cross the warps as you go around the bottom beam.) Circle the two beams of the loom continually until the allotted width is
  wrapped or warped. It’s really important that when doing the circular warping that you put things-Warps- side by side and don’t cross the warps. Tie off warp either at the top or bottom beam. That warp and knot also will hang out in the middle of the beam. Both of these warps on each side are not woven on. They can be used to check spacing and pull-in or pull out. (For later-The main importance or job of these two warps is for tying on and off if you are going to weave a larger tapestry that can be pulled around the bar as you go. What this means is your not stuck with a static fell line. The fell line and the tapestry can be lowered and moved around the beam allowing you to weave a greater distance and larger pieces on a smaller loom.) Even if you don’t turn the warp around the beam since they like to hang out in the middle they can distort or curl the edges of your weaving as they try to escape the weaving in back to being in the middle of the beam if they are woven on or in.
6. Tighten up the warp a bit on both sides to begin to tension the warp and also make it more difficult for the individual warps to move around as you finishing finish warping and placing the heddles
7. Now that you’ve warped the loom in a circular fashion, it is the time to put the heddle bar back in place. Heddle rods that the heddles attach should be on the top and the bottom-not in the middle. 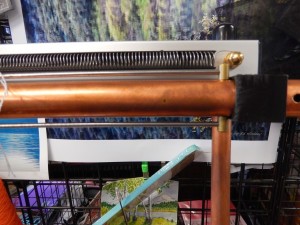
8. Put metal bar through spring to hold warps in place on top spring and bottom spring if you have using an optional a bottom spring.
9. I like to use texsolv heddles. They are reusable and I am one of thos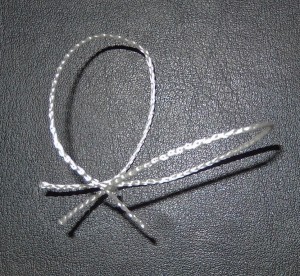 e persons who can never consistently tie square or granny knots. Texsolv heddles just saves a lot of time, energy and tears. Unless, of course you are one of Gods gifted and can always be consistent then feel free to take the time to create a jig and tie the heddles. To me the extra cost is well worth the saved time and effort of tying the heddles.
10. Heddles should be folded in half, partially encircle not completely circle the warp and both end loops should be pierced by the heddle bar.It’s nice to get the ends of the heddles close to the rod not the center Then later you don’t have to worry about those ends tangling with warp or their being to near their brethren warps and not shedding properly.
11. Carefully, place heddles on every other warp. Double check constantly. One off and the rest are going to be off and twisting in to the wrong sheds when you try to use them. 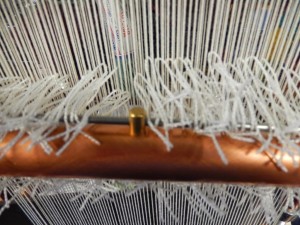 When you get to the middle be very careful about where half is. Make sure the heddles will pull at a 90 decree angle-continue until complete.
12. This is where a really common error occurs and can really narrow the sheds-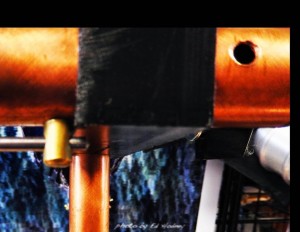 reducing them to nothing. Be very careful that the rod d
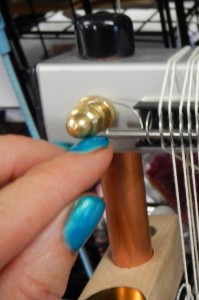
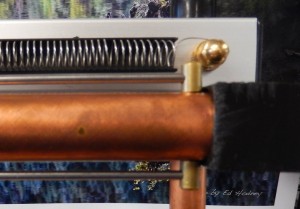 doesn’t go past the hole and catch on the heddle bar brace when turned. Tighten all the end screws with the hex wrench. Note the difference in the two photos. You shouldn’t be able to see the rod end.
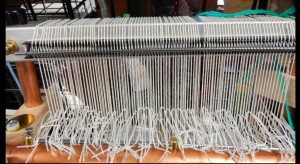
13. Do the bottom roll of heddles. Be very careful that your doing the other half of the warps and every other warp. Only one warp thread allowed per heddle. Again when you reach the middle make sure the heddles split on the half way mark at a 90 decree angle. This might be a good time to see if half way is matching up on both bars. There is a very good reason for this. You don’t want to create a gap in the heddles in the middle or have the heddles pulling across other heddles when you shift the shed. hat little doohickey in the middle that the rod goes through can split the wefts and warps apart creating crossed heddles between the two sets of heddles or pull them in such away to create a gap between warps as you weave.
14. And to repeat-again! Be careful where the rod begins and ends when you tighten the h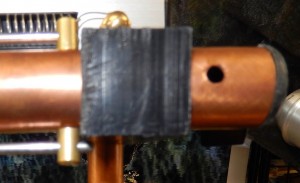 ex bolt. This is where a really common error occurs and can really narrow the sheds. Be very careful that the rod doesn’t go past the hole and catch on the heddle brace when turned. Tighten all the end screws with the hex wrench. (see photos on 12)
15. Cut a weft 4 times the width of the loom or weaving area. Weave across. Open first shed and place weft in open shed. Close Shed. Change shed and weave across-Do this 3 times to partially begin to keep and space warps in 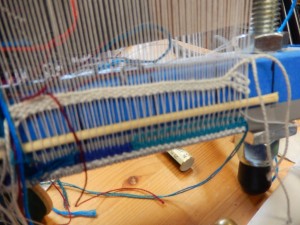 place.
16. Place a small metal rod or shiska skewer(bamboo or metal) in the next shed. I clip off the pointed ends of the skewer if there are any. Also![]() if your using metal bars use small ones no bigger then the ones that go through the springs. If the rod is too large it’s almost impossible to get the two sheds to come together when you begin to weave and twine. These metal rods can be purchased at a machine shop and cost a dollar or two and last forever. Usually you can buy them the right length off the shelf or have them clipped for free to the right size. Bamboo shiska’s can be purchased at almost any super market for very little. If I am more likely to turn the piece around the loom as I weave or place another in the opposite shed. One caveat if you are turning the piece around the loom make sure they will fit between the legs of the loom when turned. Beat down as tightly as possible to the bar. There will be some spring up for about a half inch of weaving up-note center of weaving.
if your using metal bars use small ones no bigger then the ones that go through the springs. If the rod is too large it’s almost impossible to get the two sheds to come together when you begin to weave and twine. These metal rods can be purchased at a machine shop and cost a dollar or two and last forever. Usually you can buy them the right length off the shelf or have them clipped for free to the right size. Bamboo shiska’s can be purchased at almost any super market for very little. If I am more likely to turn the piece around the loom as I weave or place another in the opposite shed. One caveat if you are turning the piece around the loom make sure they will fit between the legs of the loom when turned. Beat down as tightly as possible to the bar. There will be some spring up for about a half inch of weaving up-note center of weaving.
17. Do several more rows of weaving to help set the sheds smaller then then the rod or skewer.
Note the order of weaving a couple of rows of weaving(Blue and green), skewer, at least two passes and then the twining and knotting to the exact size of the weaving
18. Cut a piece of warp 3 times the width of the weaving surface. Larks head to the second warp on each side ignoring the warp that is hanging out in the middle on each side. Twine across the rows of weaving. At exactly the width of the weaving tie a knot. Do this even if it is to wide or too small. You should know before starting how many warps there are to an an inch and how wide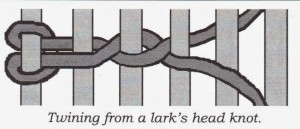 the piece will be. So if a piece is 10 inches wide and you are working at 10 epi you have 100 warps.
19. Now space the warps with a proper pointy tool into the proper position. The twining and knot will keep the proper width and the warps can be manipulated into place if necessary as you space the warps. You are less likely to need to much spacing if you use a bottom spring. My bottom springs are not glued to the mirrix frame but tied in place so I can shift them around the bar as I turn the piece.
20. If tension feels uneven or even if it doesn’t over tighten the warp tighter then you can possibly weave. Make sure you tighten the wing nuts on the side the same distance. Please use the mirrix wrench to do this. Yeah, that funny looking flat thing that comes with the loom is an incredible wrench. Looks odd, but nothing works better and it saves the hands and fingers… After a few hours loosen to a good tension for weaving. Check to make
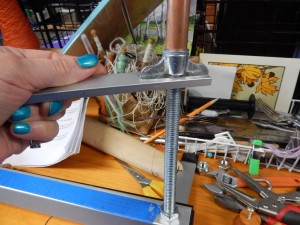 sure everything is square and equal.Same distance on both sides between the top and bottom cross beams. Remember the warp should sound like a musical instrument and not displace when strummed. Generally the tighter the warp the easier it is to weave with fewer problems.
21. Sew on your cartoon and weave!

Sorry, about not answering this sooner. I am so used to people not writing comments that I missed this one.
Sorry the photos weren't distinct enuff. They look better in my class powerpoints. Unfortunately i am not enough of a computer geek to figure out how to make the pictures better. I love this method of warping it's so much faster and less prone to mistakes.. Takes me a third of the time to get the loom ready to weave on. For me everything is about getting to the weaving-so the more i can short cut the warping process with out causing any weaving problems the better!!!
cheers and all,
kathe
Thanks for this Kathe. I like this way of threading , just wish the pictures were easier to read